What is Cross vCenter vMotion about?
The Advanced Cross vCenter Server vMotion (XVM) capability was one of the most popular VMware Flings. A lot of customers were anxious to see this capability being an integrated part of vSphere. With the vSphere 7 Update 1c release, the XVM capability is embedded into the vSphere Client!
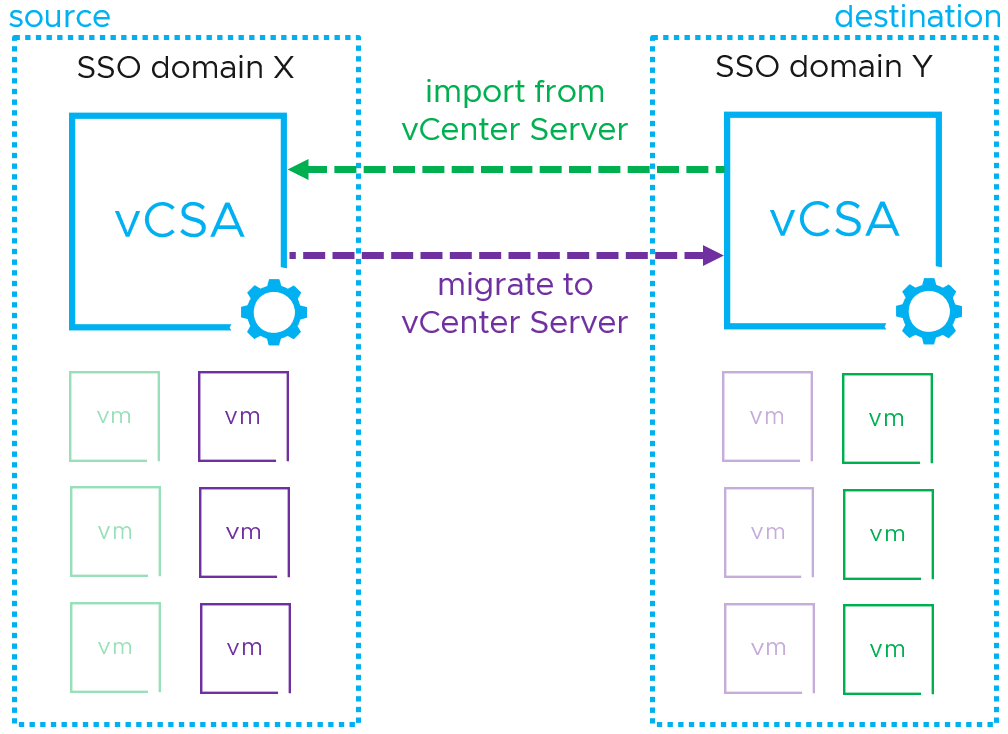
XVM helps to migrate virtual workloads between vCenter Server instances, without the requirement for Enhanced Linked Mode (ELM) or Hybrid Linked Mode (HLM). This means it’s possible to migrate virtual machines (VMs) between vCenter Servers that are in different Single Sign-On (SSO) domains.
A common scenario of this is workload migrations from an on-prem vSphere infrastructure to VMC on AWS. Migrating without being constrained by vCenter Server configurations allows for a lot of migration ‘freedom’. XVM can be used for single VMs or bulk migrations.
In our demonstrations below we are running vCenter 7.0.2a on the initiating instance and vCenter 7.02a on the distant one.
Migrating a virtual machine
- Initiating a cross-vCenter vMotion is as easy as it gets. Right click on the VM you want to relocate and select Migrate.
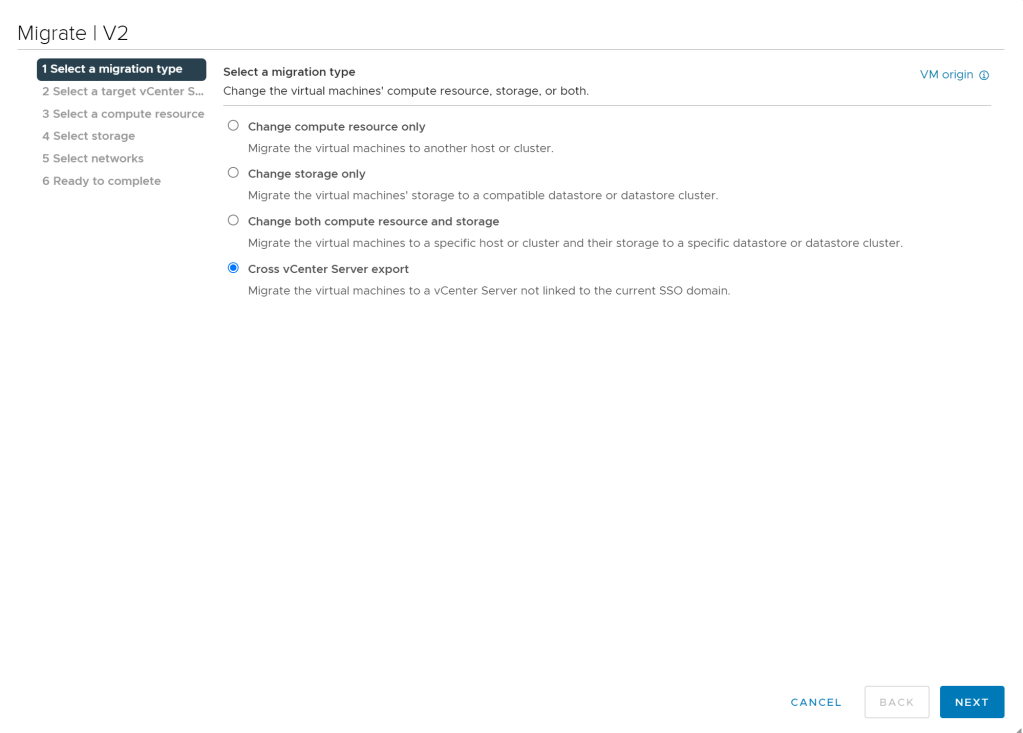
- Select the new Cross vCenter Server export migration type. Note that if you don’t see this option you need to update to vCenter 7 update 1c (7.0.1.00300).
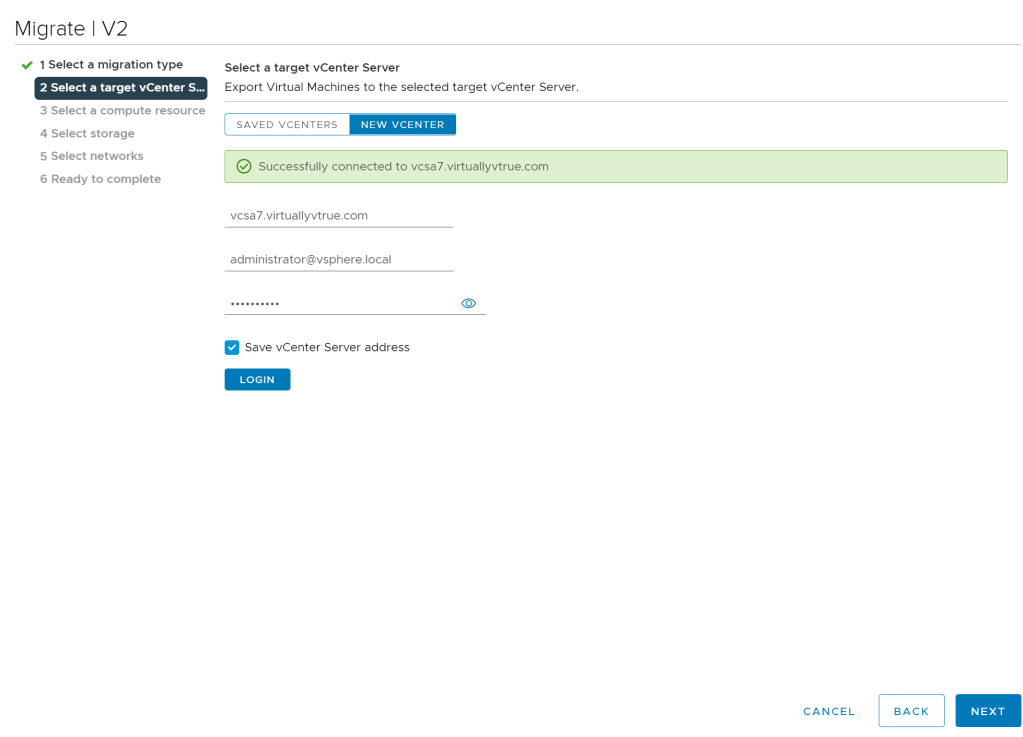
- Then you need to specify the target vCenter. Start by selecting New vCenter and type in the connection details (IP/FQDN, user, password). You can then save this information to have it ready for later use. Then click on Login to validate the information.
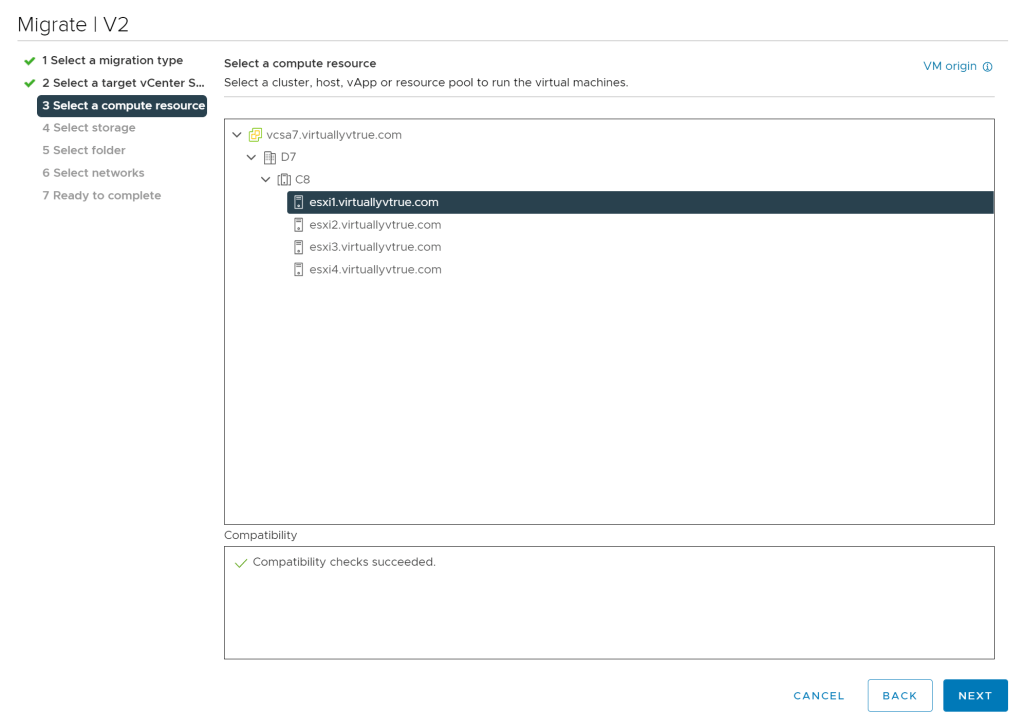
- Select a Compute resource at the destination.
- Select storage, folder as it is straight forward that we have in normal vMotion.
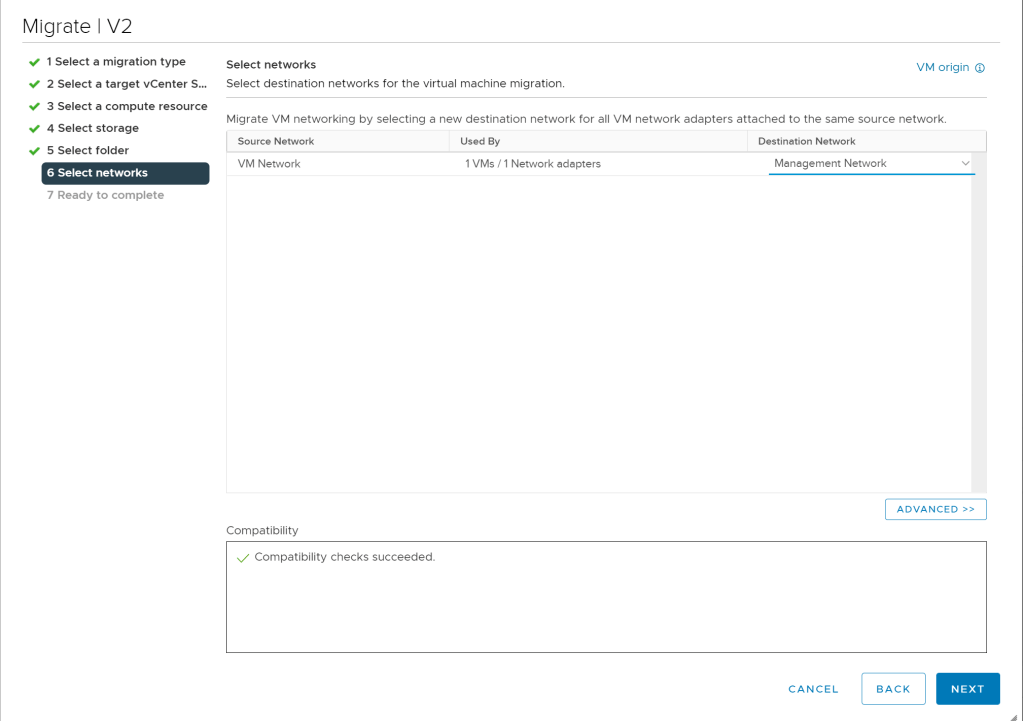
- And finally you can choose a portgroup to connect your VM. You obviously need to ensure beforehand that the distant network is configured properly (same gateway, routing).
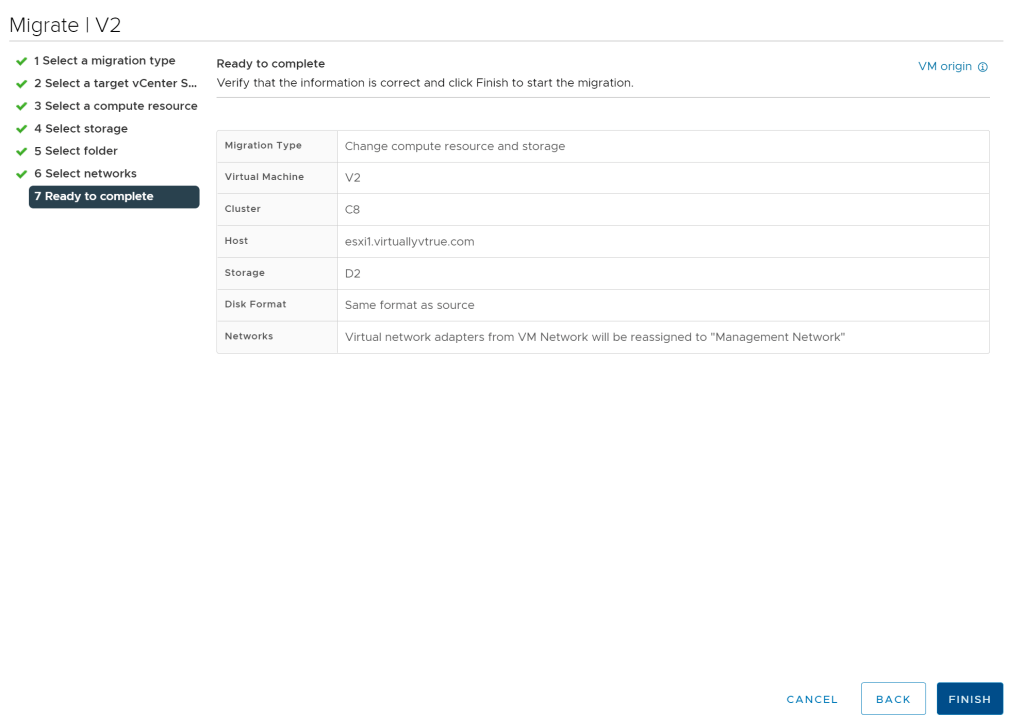
- Review the migration summary details and click Finish to trigger the move.
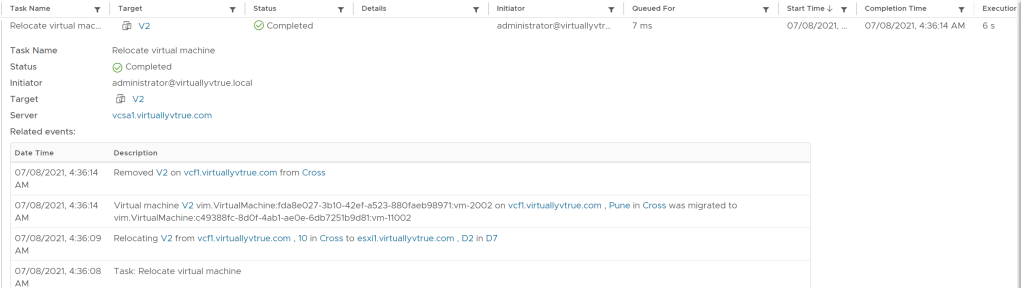
You will find below events in the vCenter task and events for relocation/migrate of the VM once the task is completed.
Importing a virtual machine
Advanced Cross vCenter vMotion also brings the possibility to import virtual machines from a distant vCenter. This can be useful of the remote instance runs a version lower than vCenter 7 update 1c and doesn’t have XVM in the vSphere client for example.
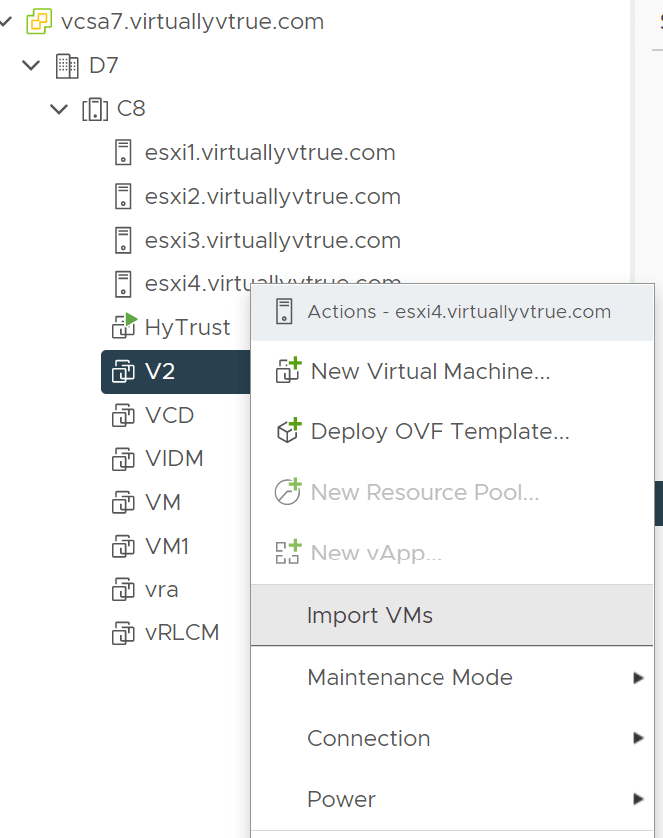
- To initiate an Import VMs task, right click on a compute resource and select the option.
- Select the remote vCenter like shown previously and then select the virtual machine(s) you wish to import.
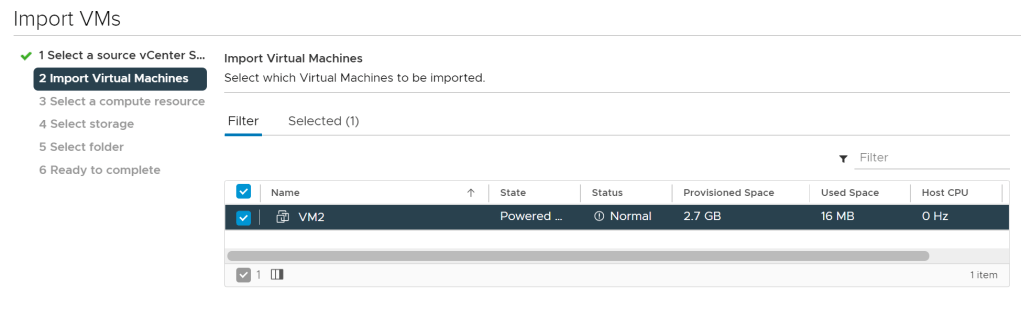
The next steps are similar to the ones described above.
Observations:
- MAC-Address stays the same after XMV.
- vCenter’s MoRef-ID for the VM changes with XVM! This is quite clear because the destination vCenter creates a new one for each new VM. But InstanceUUID stays the same.
Conclusion:
Advanced Cross vCenter vMotion (XVM) will allow many companies to perform safe and efficient migrations whether they are on-premise or in hybrid scenarios. Is this a feature that you see yourself or your company using in the near future? Talk about your use case in the comment section !
