If you have visited directly on this page, then I would highly recommend you read earlier posts of this series from below links:
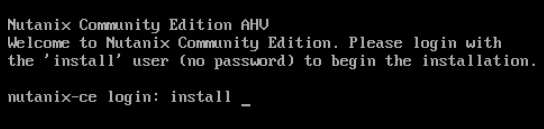
Start installation login as user “install”
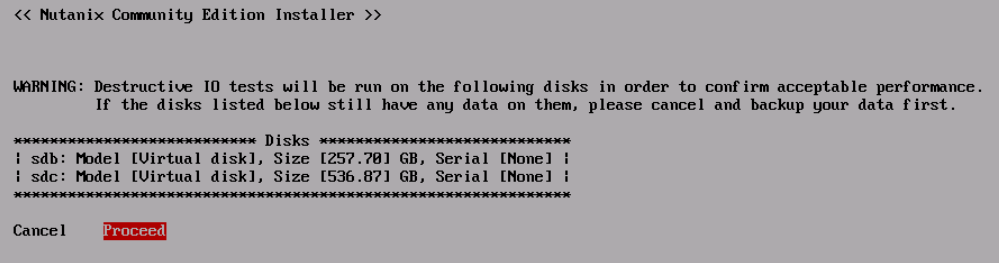
Select Proceed and hit enter

Select Clean Install and hit on proceed.

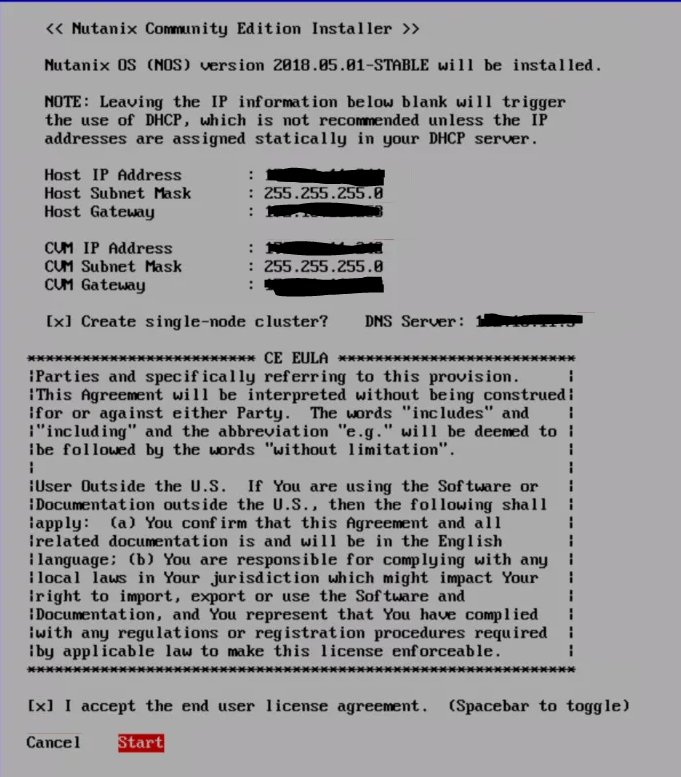
Provide IP address,gateway and subnet mask for the host (AHV) and for the the CVM.
Select “Create single-node cluster” option if you wish to have only one node in your setup.
Specify the DNS server so that public servers names can be resolved. If DNS resolution fails then we won’t be able to register the Nutanix CE against the Next Community website post install.
Usually it takes up to 30 minutes for package installation to complete and CVM to boot.

Post install you will be get a screen to login to the Host.
Default credential is root and nutanix/4u.
This page also shows the Nutanix CVM IP Address.

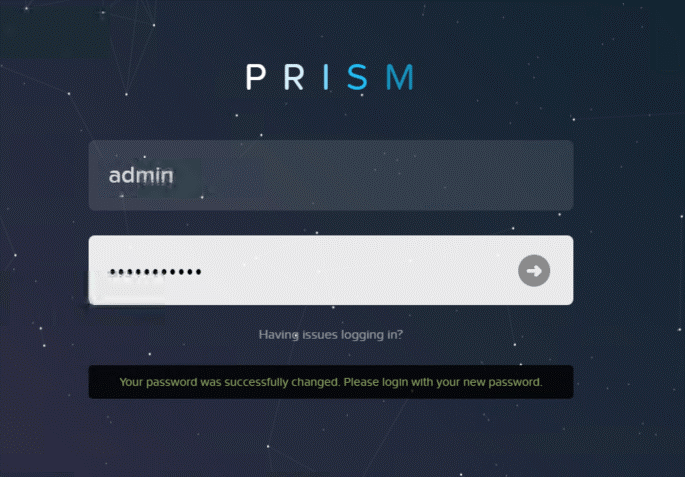
Post install connect to Prism https://<CVM-IP>:9440 and login with admin user and nutanix/4u as password.

You will be prompted to change password of admin user on first login.
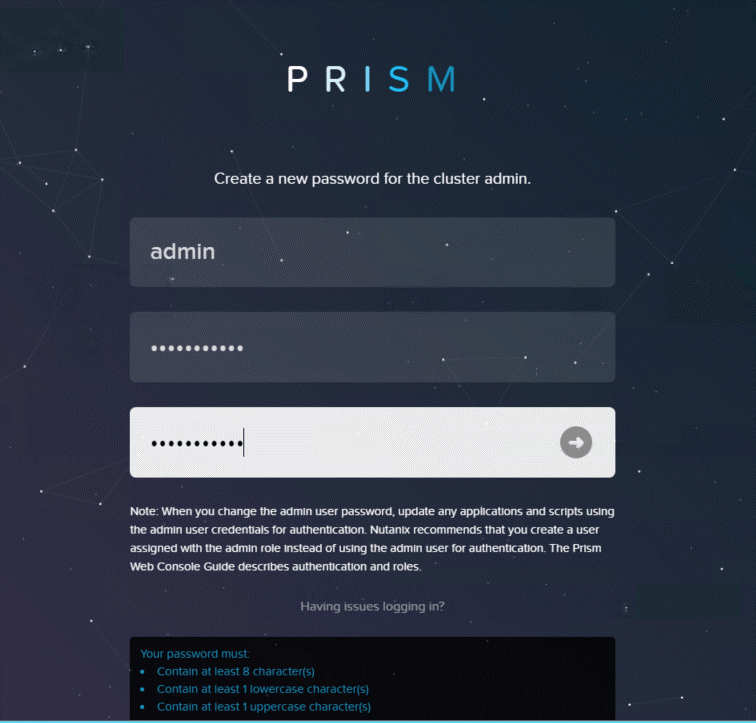
Login to Prism with your new password.
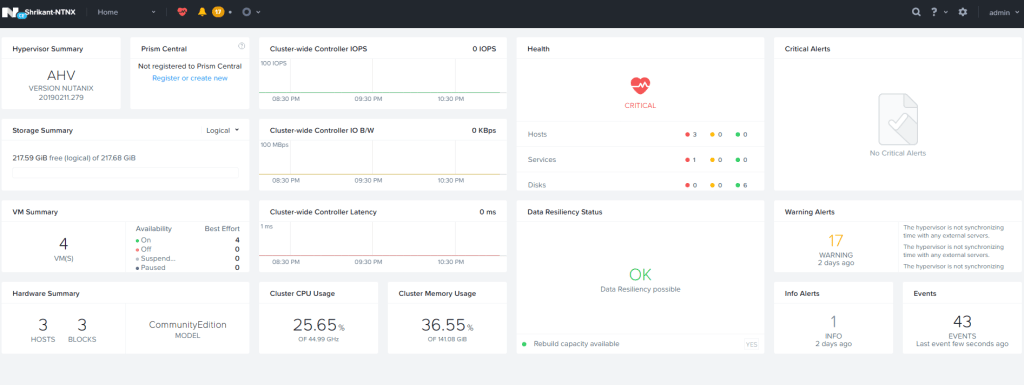
Once Nutanix CE activation is done, PRISM will load the home page.
I used these steps to successfully install Nutanix CE on top of VMware ESXi 6.7u3 running on HP server which is not in the Nutanix HCL also on a vAPP which is 3 layer nested virtualization.
